Backup of resident files - File Rescue
The resident record backup application, also known as File Rescue, is a very useful software for facility care staff.
For each active resident, this software retrieves some of the documents from the resident's file and attaches them in a PDF document.
In short, the File Rescue software is essential to have access at all times to certain resident data when the SOFI software is no longer available (e.g. in the case of a network failure), more specifically in the event that the resident must be sent by ambulance.
The following is a list of the documents generated by this software for each of the active resident files in the SOFI software:
Summary of backup files for each resident.
- File name nomenclature: <Resident's RoomNo>_<Resident's NAM>_<File generation date and time>.pdf
- This document, similar to the SOFI software hospitalization report, includes the following information:
- Address of the establishment;
- Resident profile summary, including:
- Demographics;
- Physical profile;
- Information regarding evacuation capacity;
- Case numbers;
- Diagnoses;
- Allergies;
- Intolerances;
- Bacteria;
- Resident's pharmacy;
- Previous hospitalizations.
- List of professionals associated with the file;
- List of contacts;
- Movements.
- Observation notes for the last 7 days (7 x 24 hours from the time of generation). Note that the table will be empty if no observation notes in the last 7 days;
- Vital signs for the last 7 days (7 x 24 hours from the time of generation). Note that the table will be blank if there are no vital signs values in the last 7 days;
- Pharmacological profile (if available): Last pharmacology profile type file attached to the resident's chart;
- Medication Administration Record (if available): Last medication administration record attached to the resident's file.
Level of care form (if available in SOFI software)
- File name nomenclature: <Resident's RoomNo>_<Resident's NAM>_<Date and time of file generation>_NISR.pdf
- This document shows the last level of care file attached to the resident's record.
Training manual

Installation
The files created by File Rescue are stored on Telemedic's SFTP server. It is the customer's responsibility to retrieve them. The customer can access the files at any time.
Files are kept for two days before being deleted to make room for new files.
In order to give the client access to the files generated by File Rescue, Telemedic needs the following information from the client
- The fixed public IP address of the location from which the files will be retrieved that are on the Telemedic SFTP server,
- A public access key, see an example in the frequently asked questions for the generation of this public key
The access to the files is done via an SFTP connection. The client can use the software he wants (like WinSCP, Cyberduck, Transmit 5, FileZilla).
After enabling the File Rescue service for the client, Telemedic will return the following information to be used for connection:
- The SFTP server address
- The server port
- The username to access the SFTP server
Activation of the File Rescue service must be performed for each facility. The customer must explicitly request activation for each facility.
Backup of resident files - File Rescue
To obtain the files generated by the SOFI File Rescue, the installation of a FTP client is necessary.
Telemedic recommends the use of WinSCP file transfer software to interact with the File Rescue server. However, any other similar software may be freely used if it meets Telemedic's security criteria.
WinSCP Installation
- Download WinSCP and run the executable to start the installation.

- Accept the license agreement.

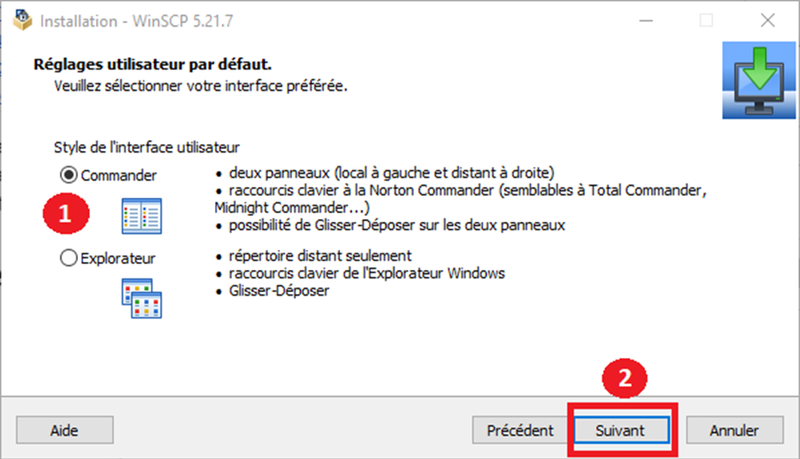
- Choose the recommended installation:

- Select user settings :
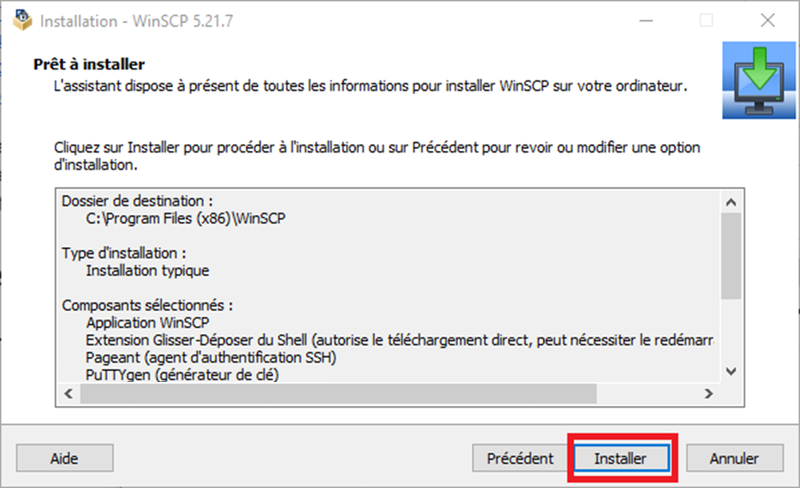
- Confirm to start the installation :
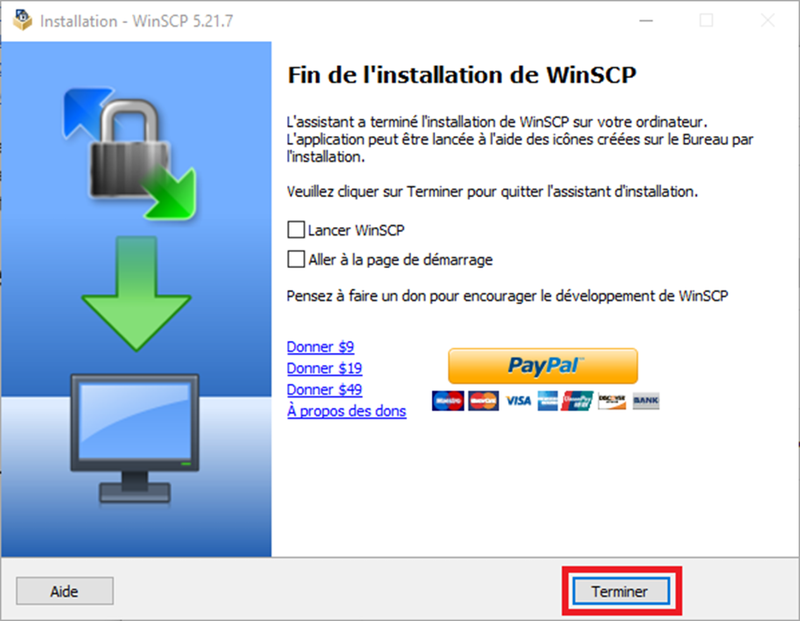
- You will have to click on Finish to complete the installation:
A connection to the backup server File Rescue requires a public and private key pair to access the servers securely.
The private key must not be disclosed to anyone and the public key must be transmitted to Telemedic.
Start WinSCP to create a new connection to the backup server.
- Click New session to add a login profile.
- Open the Tools menu.
- Run PuTTyGen from the menu

In the next window select the key type EdDSA and click Generate

During generation, please move the mouse randomly in the red area to add a degree of randomness.

- Enter a password in the Key passphrase field and confirm with Confirm passphrase
- Save public key (blue box)
- Save private key (green box)

The private key is a personal key, and should not be given to anyone, not even Telemedic. Therefore, it must be stored securely in a safe place with restricted access, for example in a password manager.
If the private key is compromised, Telemedic has no additional means of verification, and the connection is considered legitimate. Access to the generated files will therefore be allowed.
Communicating the information to Telemedic
The information required to activate the connection will be requested by Telemedic.
- Your fixed IP address
- The previously generated public key (file with the “pub” extension).
The fixed IP address can be obtained from your internet provider and checked in SOFI “Configuration → Troubleshooting → Session info”.
Click on new session to add a connection profile

Then enter the following login information: Host Name, Port Number and User Name. This information is communicated in an e-mail from Telemedic support.

Navigate to the menu to add the private key to the connection profile. It must have the file extension .ppk

Add the private key by selecting it, and click on OK to validate:

Then save the session by clicking on “Save”:

And give it a name:

Connection
It is now possible to establish a connection to the Telemedic server by clicking on “Connection”:

You will be asked for the password of the private key, indicated at the key generation stage:

Successful login:

Automatization example
Select all the files to be transferred from the right half window and click on «Download»:

Then, in the «Transfer Settings» menu, select «Generate Code».

A window of this type should appear:

The code is automatically generated in different languages like PowerShell or CMD and can be used in a script.
This script can then be run recurrently with the scheduled tasks (?)
However, Telemedic strongly advises to replace the get * line by synchronize * which will only download the files not present on the hard disk.